DataCube
The DataCube is our first Haptic Bytes model. It is arguably the purest form of encoding digital information in a physical format: Take a digital memory, calculate a hash of it, and store it in a three-dimensional matrix of n*n*n bits.
The DataCube is available as open source software, so anyone can freely view, generate, modify and generally have fun with this model.
You can try this out right here, in your browser! To generate DataCubes from randomized data, simply keep hitting the [Generate Random DataCube!]-button. The generated cubes can be viewed, resized and rotated in the 3D-Viewer below.
To generate your own personalized DataCube from a digital file, first choose a file from your PC (you can also Drag&Drop a file to this page), then hit the [Generate!] button. Your file will be transformed into a unique DataCube, which will likely never exist exactly like that for anyone else in our lifetimes, if you use the default 5x5x5 bits cube: 5x5x5 equals 125 bits, meaning there are a total of 2¹²⁵ (or roughly 4.2535296e+37, or 42 undecillion – a number with 38 decimal digits) possible combinations, or cubes.
Note: All of the magic is happening completely in your client (i.e., your web browser), meaning no information about you or the files you choose is transmitted to our servers (or any other third party!). We also don't use tracking cookies of any kind, anywhere on this site.
The only data we allow to be sent to our server is a small packet of information saying "A new DataCube has just been generated", simply so we can roughly gauge the interest in this project. We don't track or know anything else about you, the files you choose or what you do with cubes once they are generated.
Step 1: Select a file
Step 2: Click to generate a cube
If you have access to a 3D-printer, you can easily bring your personalized DataCube to our physical realm: First, make sure you enable supports when you generate a cube for printing. To do this, expand the advanced Parameters below the 3D-Viewer and activate supports. Then hit the [Update] button at the bottom of the Parameters-panel. Afterwards, export your DataCube to STL using the button at the bottom right of the 3D-Viewer.
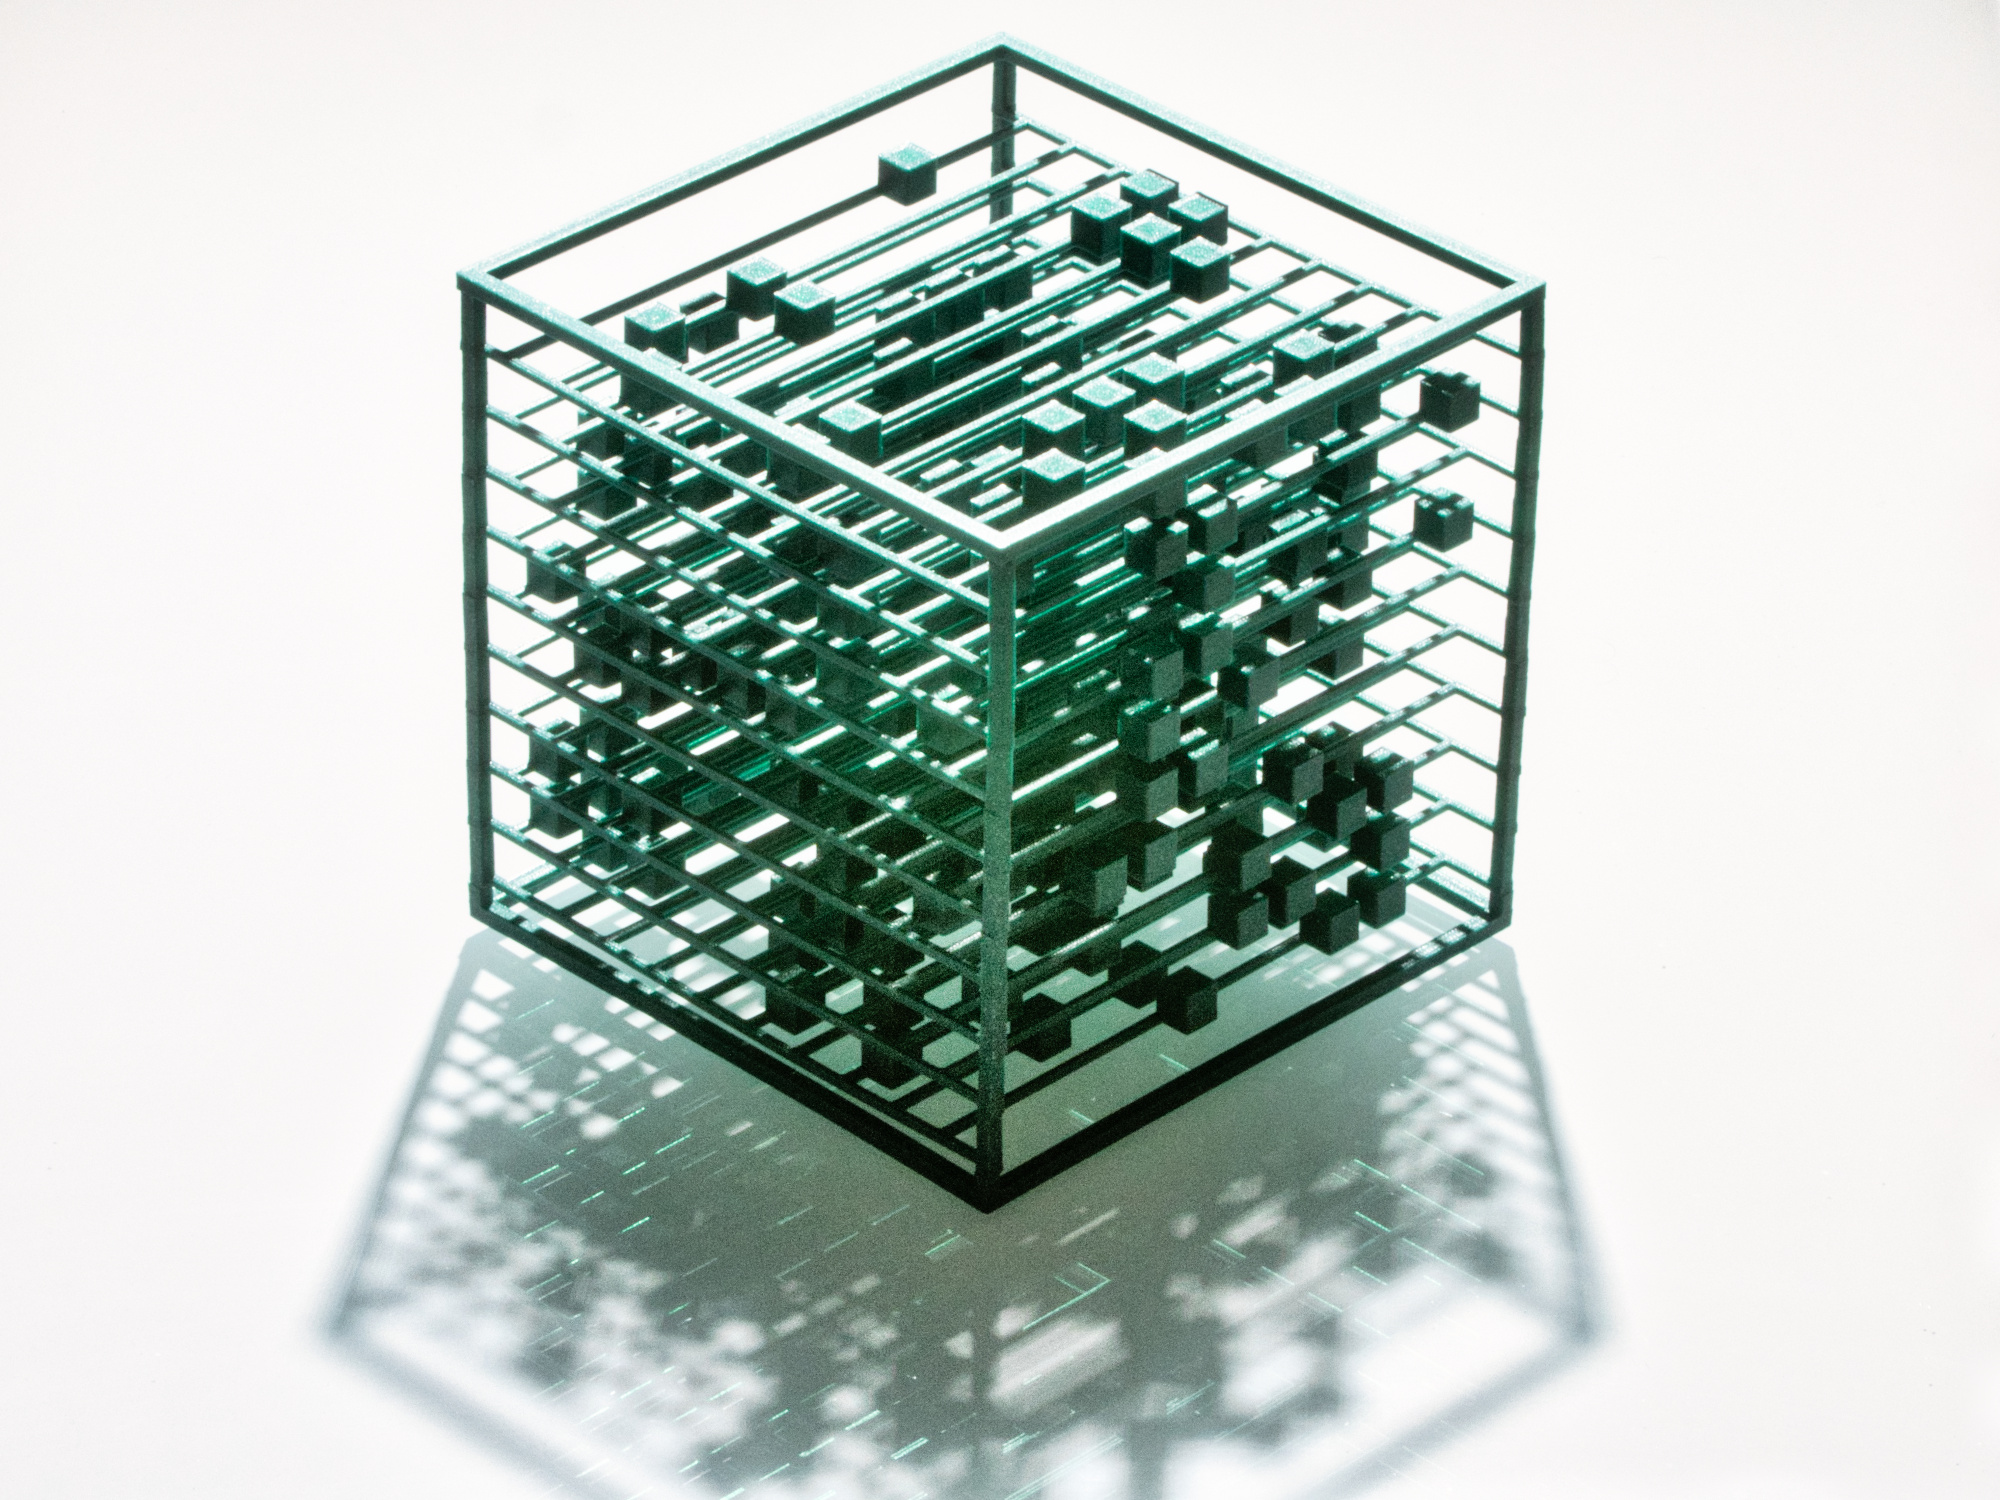
A quick note on the cube in the big photo to the left: The DataCube seen in the left sidebar-photo, or in some of the footage of the matou makes-video about this project, was an early prototype we created for the 3D-printing challenge that started it all. This prototype model had to be printed in multiple sittings and then assembled. We felt that a smaller model, which is printable in one go, is easier for people to reproduce.
What kind of material to use for 3D-printing DataCubes
For FDM prints, we recommend PLA, as it works great for bridging (horizontal parts of the prints where no support is underneath). Other filaments that allow bridging should work, too.
Recommended slicer settings
PrusaSlicer
This is the recommended slicer, as in our tests the bridges (parts of the print without support beneath it) worked best when created with PrusaSlicer.
| Setting | Value | Description |
|---|---|---|
| Supports | None | We recommend using the supports that can be optionally generated directly with the model as this will save you some material. Using automatic or manual supports by the slicer should work, too; but it might be difficult to remove. |
| Layer height (Print Settings -> Layers and perimeters) | 0.2mm-0.3mm | This has been tested with both 0.2 and 0.3 layer height, which worked great. |
| Detect thin walls (Print Settings -> Layers and perimeters) | Yes | This is important for the generated supports to work. |
| Infill | 0% | The model doesn't really need infill. |
| Brim | As you like | A brim wasn't required in our tests. But it will help if you are having difficulties keeping the print stuck to the print bed. |
| Avoid crossing perimeters (Print Settings -> Layers and perimeters) | Optional | However, enabling this can increase the time for G-code generation __a lot__, especially in older versions of Prusa Slicer. Alternatively, you can also enable _Lift Z_, which also prevents the issue. |
| Lift Z (Printer Settings -> Extruder) | Optional | Sometimes it happens that the print head movement breaks one of the thin struts while it travels to a different position. This setting should prevent that. |
Cura
| Setting | Value | Description |
|---|---|---|
| Supports | None | see description for PrusaSlicer |
| Layer height | 0.2mm-0.3mm | see description for PrusaSlicer |
| Infill | 0% | No infill should be fine. |
| Brim | As you like | Should work without. Use if the model doesn't stick to the print bed very well. |
| Print Thin Walls | Yes | Important if the supports that come with the model are used as they otherwise don't print. |
| Enable Retraction | Yes | This goes together with the z hop setting. |
| Z Hop When Retracted | Yes | To avoid breaking the thin struts as the print head travels. |
Please leave us an issue on GitHub if you notice any problems when 3D-printing a generated DataCube.
Credits / License: To support clientside creation of DataCubes, we developed this Haptic Bytes model in OpenJsCad. OpenJsCad is developed by Joost Nieuwenhuijse and is based on initial CSG.js (copyright (c) 2011 Evan Wallace).
Uses lightgl.js by Evan Wallace and Tomi Aarnio for WebGL rendering.
Contributions by Alexandre Girard, Tom Robinson, jboecker, risacher, tedbeer, bebbi, Sahil Shekhawat.
All OpenJsCad code released under MIT license.